03. Telemetry and Record Data
Telemetry
Robots navigate using sensors to perceive the world around them. In this project your analysis will be focused on image data coming from a camera mounted on the front of the rover. However, you will also have access to other data including the rover's position, throttle, brake, steering angle and speed, as well as roll, pitch and yaw angles. If you're unfamiliar with roll, pitch and yaw here's a post with some helpful explanations.
Collectively, we'll refer to all this data as telemetry. If you're interacting with a real robot, you might be receiving telemetry data via WiFi or some other method. You can think of the telemetry data coming from the rover in this project as really just a bunch of sensor readings that are analogous to data you might get from a real rover using real sensors. In addition to the camera images showing the front view from the rover, a GPS might give you position, an inertial measurement unit (IMU) might give you roll, pitch and yaw etc.
Of course, in the real world each sensor reading has noise associated with it, meaning the measurement is uncertain. In a typical application, you need to account for noise in sensor measurements, but for this project we'll pretend we have perfect sensors!
Record Data
The purpose of recording data in this project is to be able to test and hone your methods before applying them in "autonomous mode".
Recording Data
You can record the image stream coming from this camera by hitting the r key (you'll need to hit r a second time to stop recording and save the data). You'll see a dialog box that allows you to choose a folder for saving data. Navigate to a folder where you would like to save the data and click Select. The simulator will create a subfolder called IMG to store the image data and write a .csv file listing full image path names, and values for steering, throttle, brake, speed, position, pitch, yaw and roll.
Note: if you select a folder where you have saved data previously, the new recording will wipe out the old IMG and .csv so change the names if you want to keep old data! Be careful, do not select folder containing important files, as the recording may delete other files in that folder too.
Another Note: If you have trouble recording (data is not being saved or simulator hangs) please restart the simulator and try again.
The .csv file looks like this (click on it to zoom in and see the column names if you like):

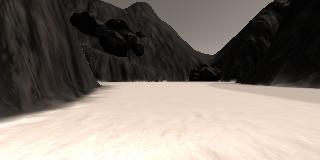
Output Images
Have a look at the output images. They are each captured at 320x160 pixels and they look like this: